Pages

Showing posts with label nail design.. Show all posts

Tuesday, August 14, 2012

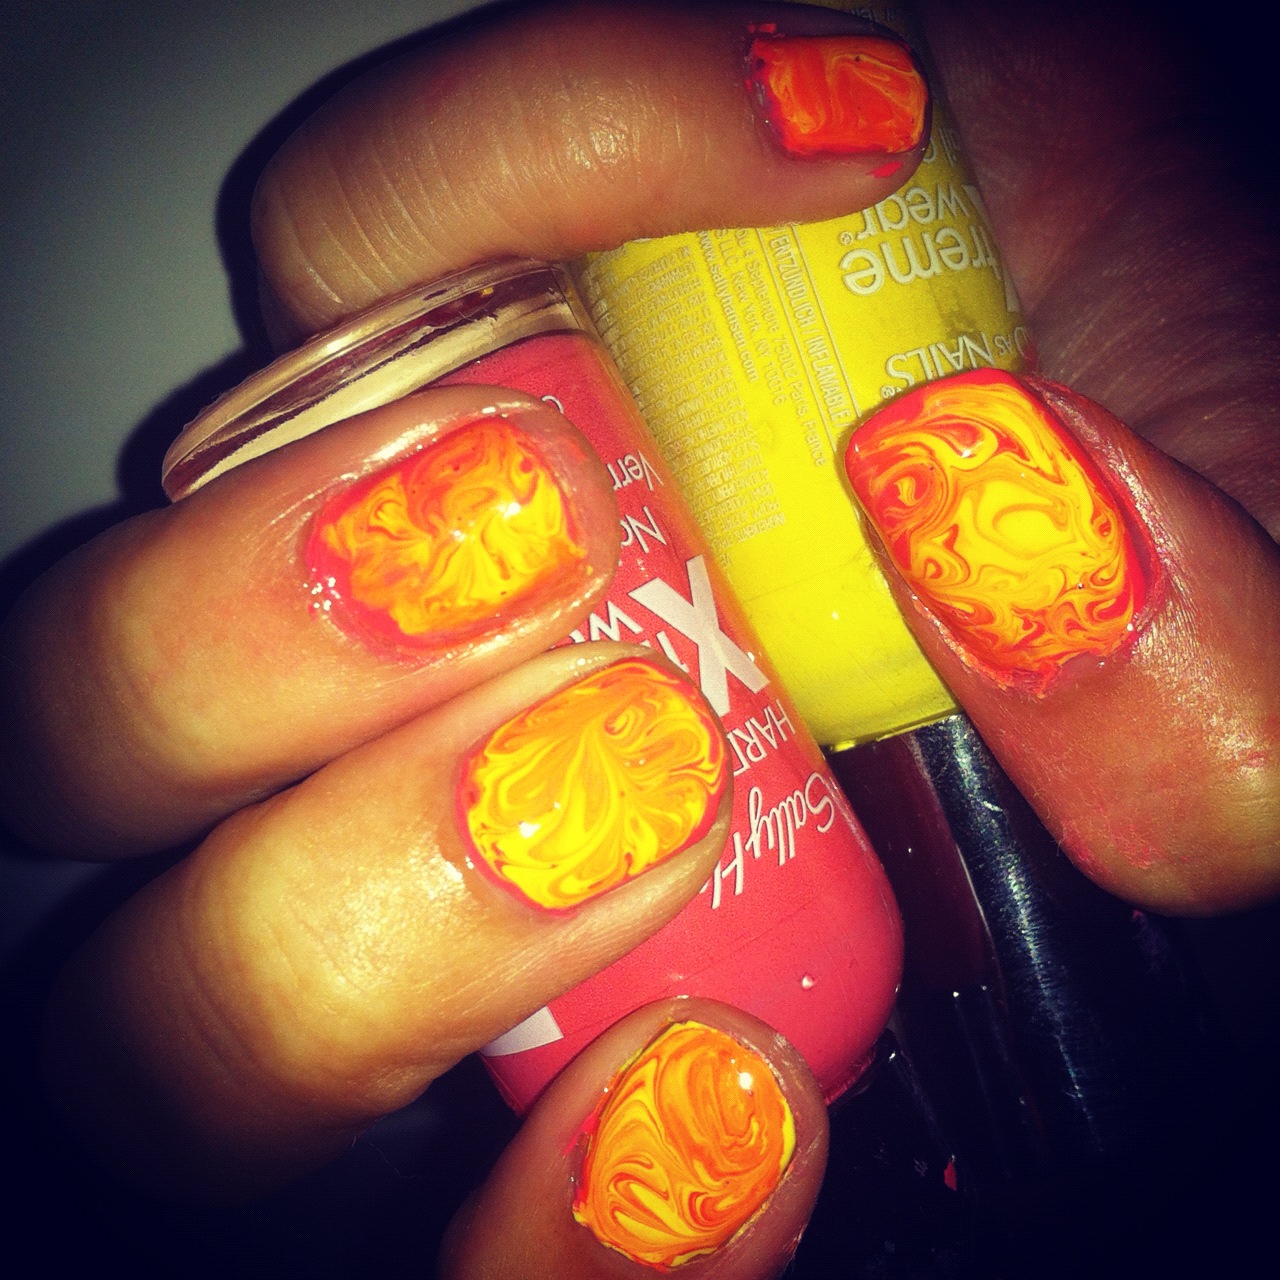
Not Your Average Water Marbling


This look is an interesting one! When you look close to the nails you may think that this was done with regular water marbling, which takes about two hours if you want them to come out looking good! I recently discovered a much easier and new way to create the water marbled look without all the mess, the time, and all the wasted tape. All you will need are two, or more, of your favorite nail polish combinations and a tooth pick! If you want to know more about this design and how to do it then read on. It shouldn't take you more than fifteen minutes!


THE PRODUCTS:
( In Order of Picture )
  • Sally Hansons "150 Sun Kissed"
  • Sally Hansons "360 Mellow Yellow"
  • You will also need tooth picks, I suggest getting a bowl of them to keep by your side in case you need another one because of a mistake.

As I said previously you do not have to use these colors and you certainly do not have to limit yourself to just two colors! I wanted to test this look to see if it would work first so I just wanted to use two colors in case it didn't come out the way I wanted it to.


HOW TO:
  1. First, as always, you want to start out by using your base coat to make sure that your nails don't get damaged by the polish. It is very important for this look that you make sure the base coat is completely dry before you start to paint on the nails.
  2. Now usually when painting nails you don't want to use too much polish on each nail, but for this look we are actually going to use more polish than usual. Also for this look you will have to do each nail at a time because you don't want the polish to dry.
  3. I took my color "Sun Kissed" and painted my whole nail, make sure to use a lot of nail polish so that you have kind of a puddle like effect on your nail compared to the regular smooth coat.
  4. Then take your next color and drop a few blobs of that color in different places on the nail. This may sound strange, but trust me, it works! 
  5. Immediately after you create the blobs take your tooth pick and swirl the two colors together, make sure not to press down too hard on the nail but just hard enough so that the two colors can combine. You can swirl the colors any way you want to create different patterns.
  6. Finally, as always, after the nails are COMPLETELY dry take your top coat and paint over your gorgeous nails to give them a pretty shiny finish.

Thank you again for reading about this nail design! I hope that everyone liked it and I hope that it gave an easier way to do water marbling. I know when I saw the water marbling trend come up I thought "How do people do that?!" I will do another blog post on how to regularly water marble sometime soon so you can see how much easier this is compared to the other one. I would love to hear some feedback if any of you decide to try this look! 

xoxo Emma


The Wonderful World Of Disney....


For my first "nail post" I will show you the nails that I created for my recent trip to Disney that I just went on with my family. I look for any excuse to do a cool new nail design so I couldn't think of anything better than being able to do my nails with cute little character faces and the "Disney 'D' logo". These designs are for people with a little more experience with nail art, it is hard to accomplish... but certainly not impossible! With a little practice, and the right tools, you can create this look.


PRODUCTS USED:
( In Order of Picture )
  • Circus By Andrea's Choice in the color "Reverso"
  • Sinful Colors Nail Art in Red
  • Kiss Nail Art Paint in a Baby Blue
  • Sinful Colors Nail Art in a Bright Green
  • Kiss Nail Art Paint in Black
  • OPI Nail Lacquer in the color "The 'it' Color"
  • Revlon Top Coat in "711 Clear"


HOW TO:

  1. What you want to do first is paint your nails with a base coat, which will support your nails and make them less brittle when you take the nail polish off. Let that dry fully before you continue on to the other steps.
  2. Then take your white color, the product I used is listed above, this color is going to be the background for your character. Paint all nails with this color and then let them dry. You may want to paint a second or third coat of the white color depending on how white your white really is.
  3. Next you want to take the black nail art brush and do an outline of the characters on each nails. As you can see in the picture I put Goofy on the thumb, then Micky, Minnie, Donald, and finally the Disney Logo. I find it easier to put Goofy on the thumb because his hat makes him take up more space on the nail than the other characters. To make doing the character outlines easier look up a picture of each character online and follow their shape.
  4. You want to add the eyes of the characters and if you wish add a little bit of their noses or any other little characteristics that you want to add to your developing characters.
  5. Let the characters completely dry before you start to add their decorations (hats, bows, beaks, ect.) Micky is the easiest character to create because he doesn't have any accessories that you need to add. For Goofy's hat you just need to basically create a rectangle shape and then add a little bit of curve towards the top of his hat. For Donald's hat it is just a shape getting larger towards the top. Finally, Minnie's bow is just a regular bow, if you don't know how to draw bows then practice a few on paper before you go onto the nail.
  6. The Disney "D" is really simple. If you look up the logo online and then follow that outline on the nail you are sure to get it perfect! It is really just a "D" with a little twist at the end and a line through it.
  7. Finally, wait for the nails to completely dry then finish with your choice of top coat to make those nails sparkle!

Now you should have a completed set of nails! If anyone tries this look I would love to see them! Or if you want to comment and tell me how it turned out or if you have any questions I would love to know. Once again, thanks for reading!

xoxo Emma.